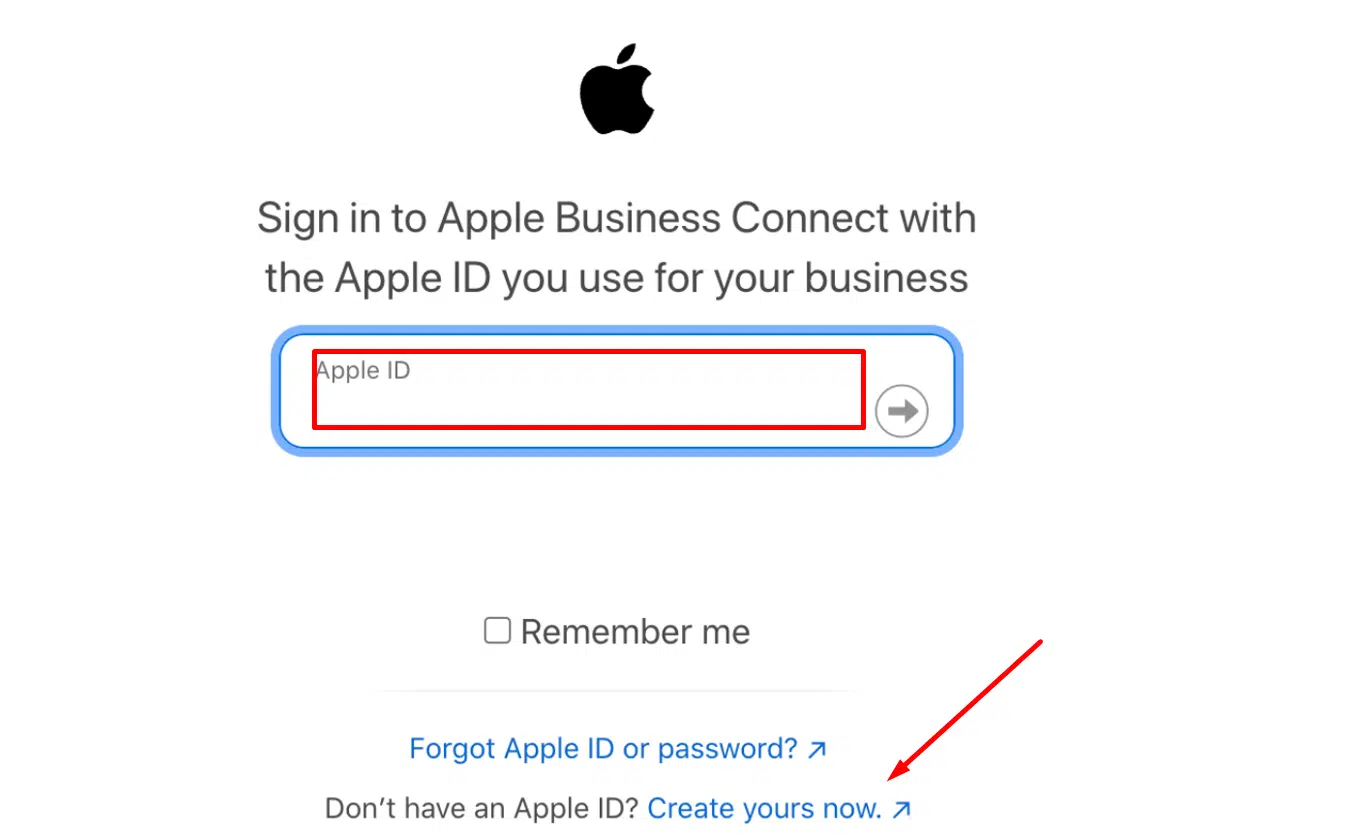
Fill in all information needed. Click “Continue”. You may be required to add a payment method. There are no charges for this but it is part of the Apple ID setup process.
Enter the verification code that will be sent to your email address. Click “Continue”.
Important Note:We recommend having the user who establishes this be a long-term user so in the case an employee leaves, you do not lose access to that Apple ID. You can add employees as Admins or Managers later.
Select Terms of Use and review the terms and conditions for using Apple Business Connect.
When you agree to those terms, select “I agree to the Terms of Use.”
To receive Apple Business Connect updates, select “I want to receive Apple emails,” then select Let’s Go. (Optional to receive updates/emails)
Select Small Business, then select Next.
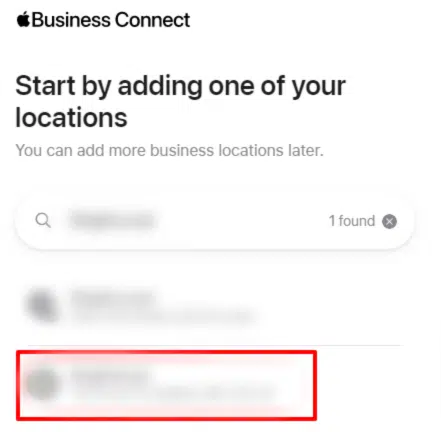
Search for an existing location of your business by entering its name, then select Next. If your location isn’t shown in the search results, select “Add location with this name.”
Review the location and if it’s correct, select Next.
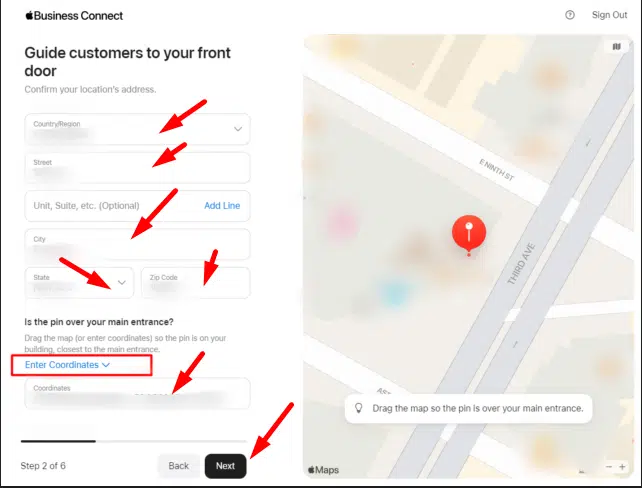
Guiding Your Customers to Your Door
If you need to add a line to your address, such as a suite number, select Add Line, then enter the information.
Drag the map so the pin appears where your front entrance is located. You can zoom the map using the + or – buttons in the lower-right corner. To make it easier to see your entrance, switch to Hybrid or Satellite view by selecting on the Map Mode button in the upper-right corner. If you have precise latitude and longitude for the entrance to your location, you can enter them directly by selecting Enter Coordinates.
Select Next.
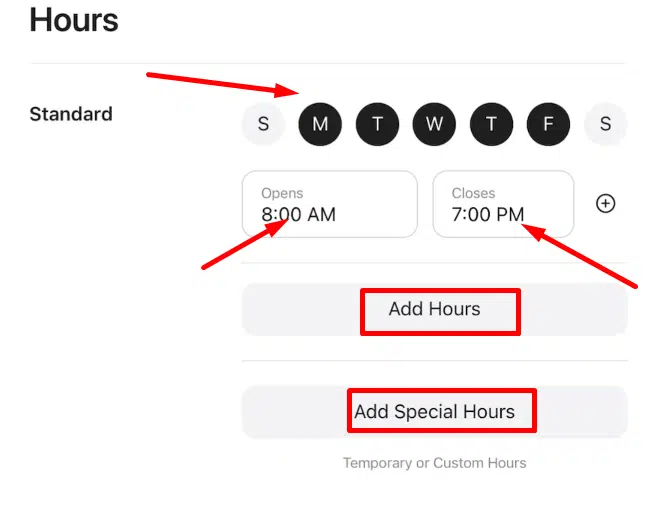
Add some details about the location and opening hours.
Select the default language for this location, then enter the name you want to appear for this location.
Confirm or change the primary category and, optionally, add an additional category.
If your business has a website or if this location has a specific website link, enter it, then select Next.
Select the days of the week and the opening and closing times.
If necessary, add more details about different hours for different days.
Select Next.
After filling in all the informations, you will need to get verified.
You can request verification from Apple now, or you can do so at a later date. Please do your verification as soon as possible if not now. No public information about your location is shown until your business is verified.
Do one of the following:
Don’t have Apple verify your business: Select Skip.
Receive a verification code by phone: Select Phone Call. This is the fastest option. You can add an extension to the phone number shown, if needed. If you’re unable to receive a verification code at that number or if the number shown isn’t correct, you can submit business documentation for review.
Have Apple review and verify you own or manage this business by submitting documentation: Select Document Review and upload an official document (such as a lease, insurance policy, or utility bill) that shows this location’s name and address, then select Done. This can take up to 5 business days.