WordPress is a popular content management system (CMS) that allows users to create and manage websites without requiring extensive coding knowledge. It is an open-source platform, meaning it is free to use and can be modified and customized according to individual needs.
Key Features of WordPress
User-Friendly Interface: it is used by both beginner and expert users. Users may simply create, update, and publish content using the dashboard it offers.
Flexible and Customizable: it offers thousands of themes and plugins that allow users to customize the appearance and functionality of their websites.
Content Management: it provides a powerful content management system, allowing users to create and organize various types of content, such as blog posts, pages, images, videos, and more.
SEO-Friendly: It offers plugins to assist in optimizing webpages for higher search engine ranks, creates neat and SEO-friendly URLs, and supports editable meta tags.
Security: to improve website security, users should make use of security plugins and keep their browsers up to date with the most recent version.
Adding Website Access in WordPress
To add website access in WordPress, you’ll typically need to create user accounts and assign appropriate roles and permissions.
Here’s a step-by-step guide on how to add website access for users in WordPress:
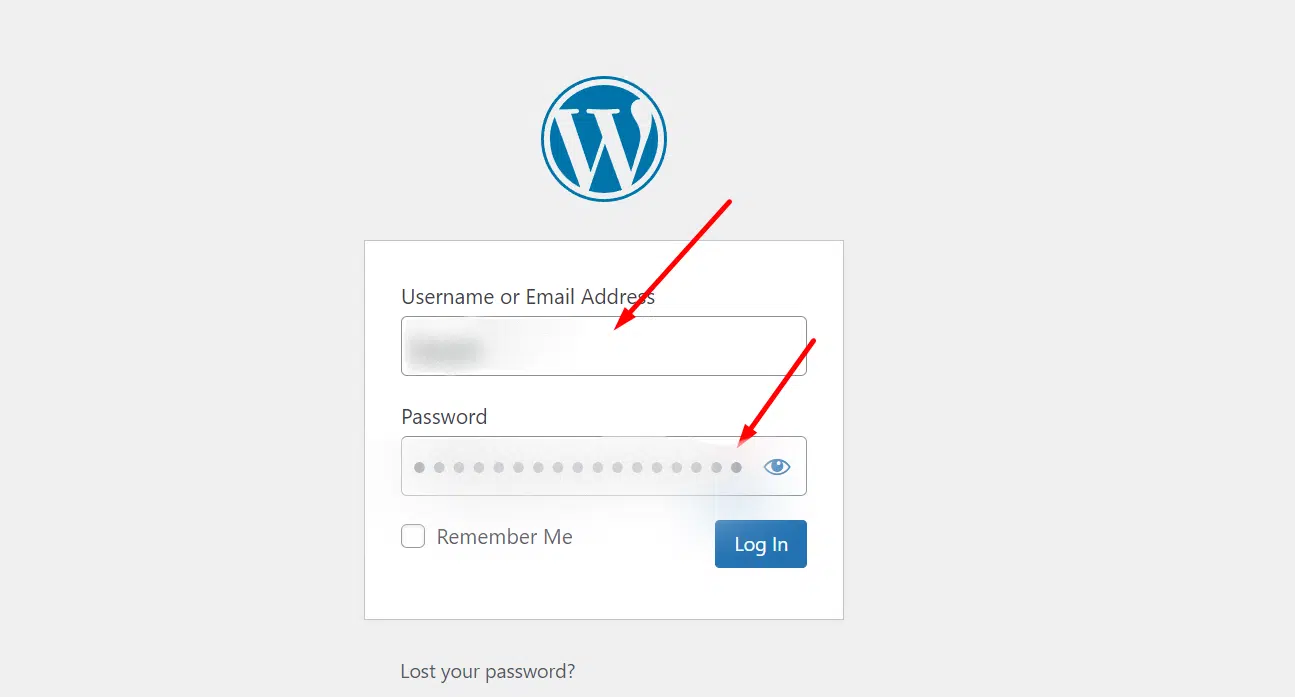
Log in to your WordPress website using your administrator credentials.
Once logged in, you will land on the WordPress Dashboard, which is the backend interface for managing your website.
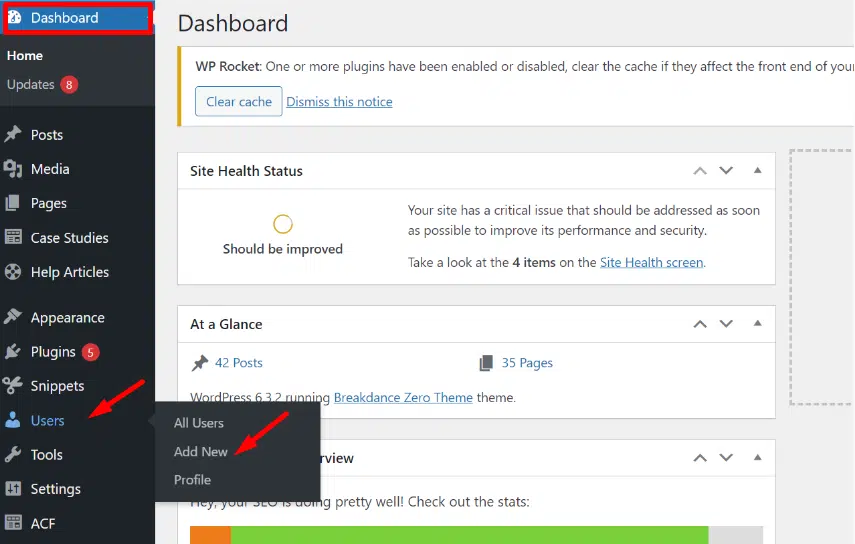
In the WordPress Dashboard, locate the left-hand side menu.
Scroll down and find the “Users” section.
Click on the “Add New” option under the “Users” section. This will take you to the user creation page.
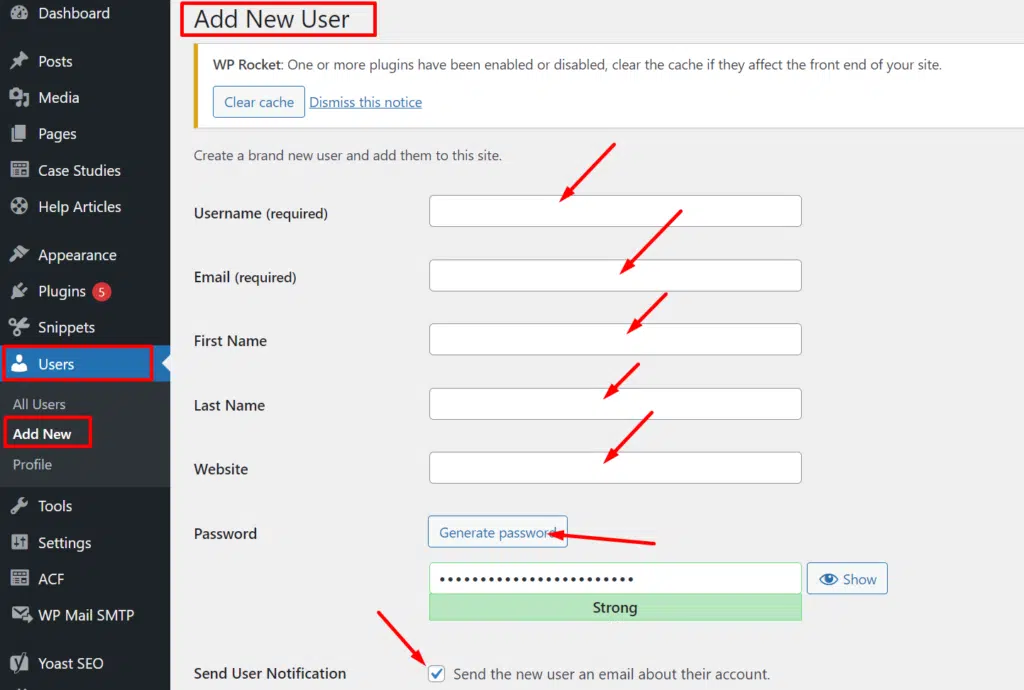
On the user creation page, fill in the required information for the user’s details. We will provide you the information and email address you needed for this.
Username: Provide a unique username for the user.
Email: Enter the email address associated with the user.
First and Last Name: Enter the user’s first and last name.
Website: Provide the user’s website if applicable.
Password: Set a secure password for the user or use the “Generate Password” button to generate a strong password automatically. You can also check the “Send User Notification” box if you want WordPress to send an email notification to us with the login details.
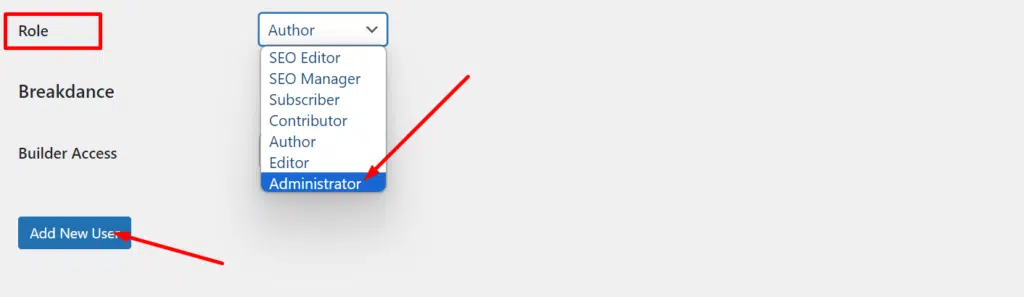
Scroll down to the “Role” section on the user creation page. Choose the Administrator role for us to be able to fully manage your website:
Administrator: Has full control over the website, including the ability to manage plugins, themes, and other users.
Editor: Can publish and manage posts and pages, but cannot make changes to website settings.
Author: Can publish and manage their own posts.
Contributor: Can write and manage their own posts, but cannot publish them.
Subscriber: Has access to manage their profile and leave comments.
After filling in the necessary details and assigning a role, click the “Add New User” button at the bottom of the page. WordPress will save the user’s information and create a new user account.
Our team can now help you manage and optimize your website efficiency through WordPress.